Grade 1
Lesson 1: Lines of All Kinds
Project: Take a Line for a Walk
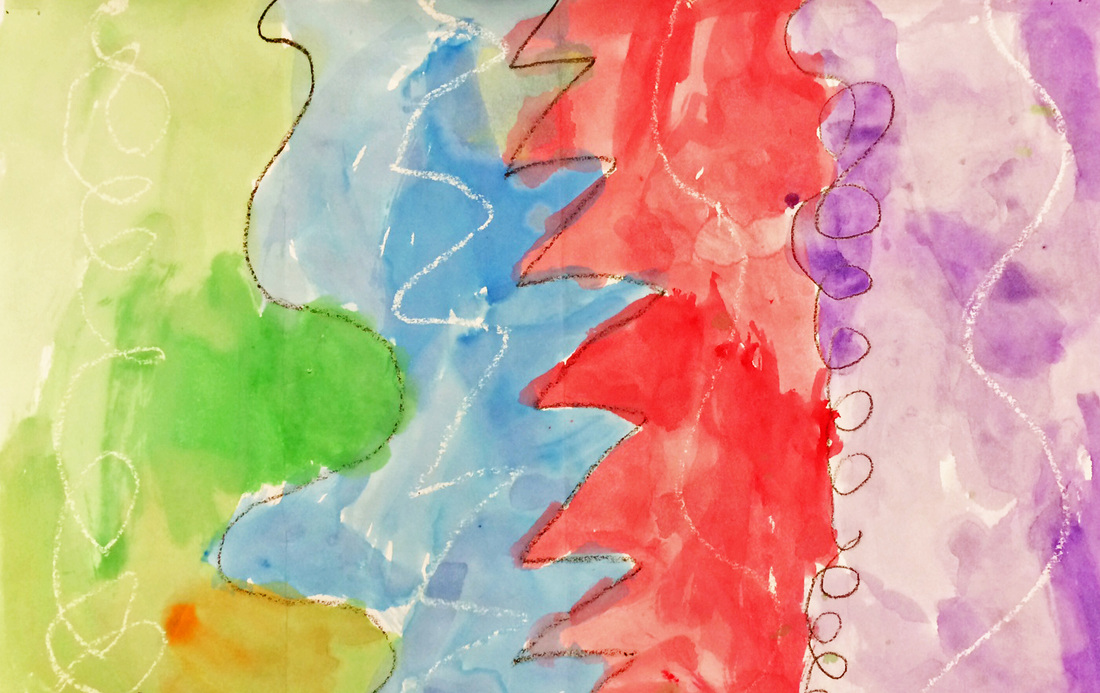
First we listened to a story called Harold and The Purple Crayon by Crockett Johnson. We discovered that Harold drew lines with his purple crayon in order to create pictures that illustrated his story. After talking about several types of lines, we picked our favorite ones and took our black crayon for a walk across our paper. The directions that the zigzag, curvy, and curly lines took indicated movement. Music and dancing creates movement too! We then listened to different types of music and took a white crayon for a dance across our paper as if it was moving to the music.
Something was missing. We searched a painting called Bustling Aquarelle by Wassily Kandinsky in order to find what our drawings were missing. Of course! We were missing COLOR! We talked about all different kinds of colors and what kinds of emotions they remind us of. Students then filled in open areas between their black lines with watercolor paint. Many of us found that our dancing white lines appeared like magic!
Project: Take a Line for a Walk
First we listened to a story called Harold and The Purple Crayon by Crockett Johnson. We discovered that Harold drew lines with his purple crayon in order to create pictures that illustrated his story. After talking about several types of lines, we picked our favorite ones and took our black crayon for a walk across our paper. The directions that the zigzag, curvy, and curly lines took indicated movement. Music and dancing creates movement too! We then listened to different types of music and took a white crayon for a dance across our paper as if it was moving to the music.
Something was missing. We searched a painting called Bustling Aquarelle by Wassily Kandinsky in order to find what our drawings were missing. Of course! We were missing COLOR! We talked about all different kinds of colors and what kinds of emotions they remind us of. Students then filled in open areas between their black lines with watercolor paint. Many of us found that our dancing white lines appeared like magic!
Lesson 2: Shapes & Textures
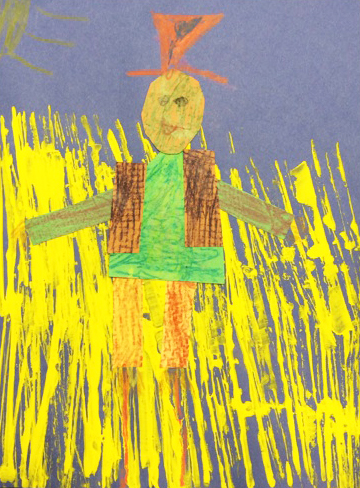
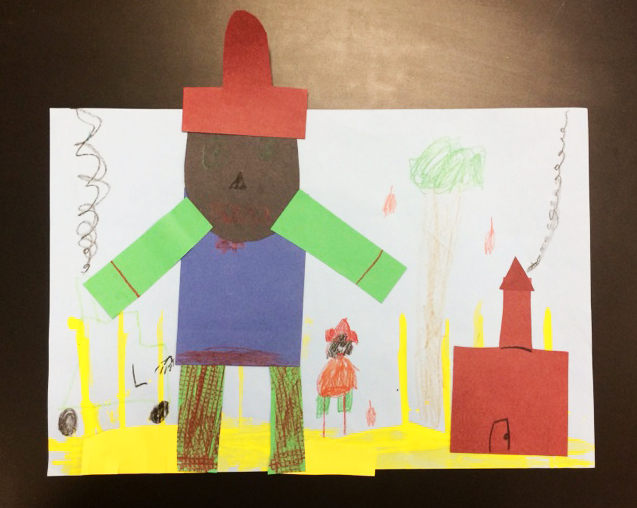
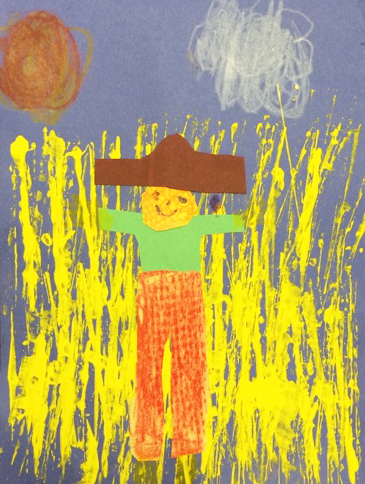
Project: Mixed Media Scarecrows
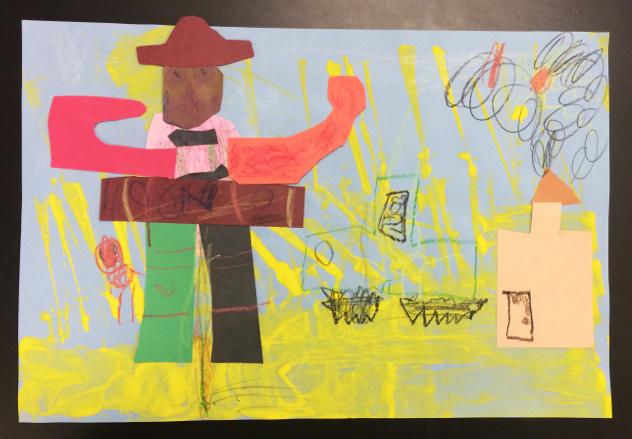
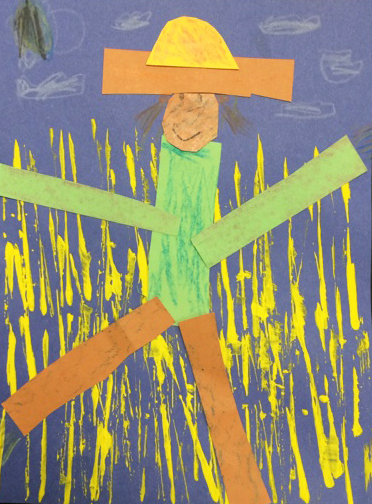
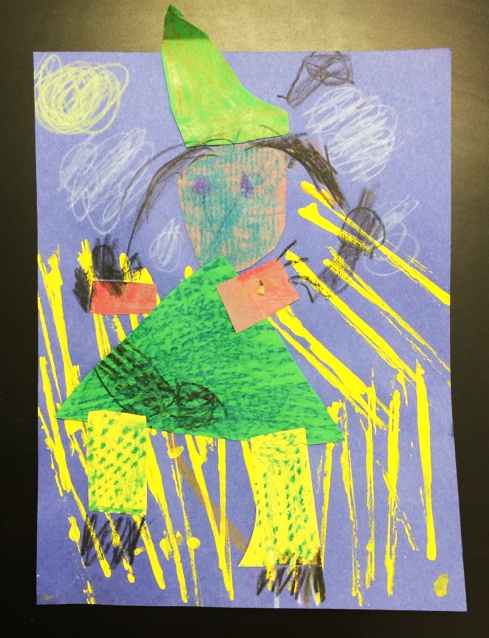
Together we read The Scarecrow's Hat by Ken Brown. We discovered in the illustrations that there were many implied textures. When creating our own scarecrows, we started with the background first. Scarecrows live in cornfields, so by dipping the skinny sides of popsicle sticks into yellow tempera paint and repeatedly dabbing the stick onto our paper, we created the implied texture of cornstalks. While our paint was drying, we looked at what kinds of shapes make up a scarecrow. We cut out circles, triangles, rectangles, squares and even ovals. After all our pieces were cut, we added various textures to them, depending what kind of feel we were going for, by rubbing crayons over texture plates, blocks of wood, burlap, rubber, and plastic netting. Our scarecrows were assembled and glued onto our backgrounds with glue sticks and details such as faces, straw hands/feet/hair, crows, etc. were added with crayon.
First graders particularly enjoyed this project and each scarecrow came out as unique as the artists themselves!
Lesson 3: Color
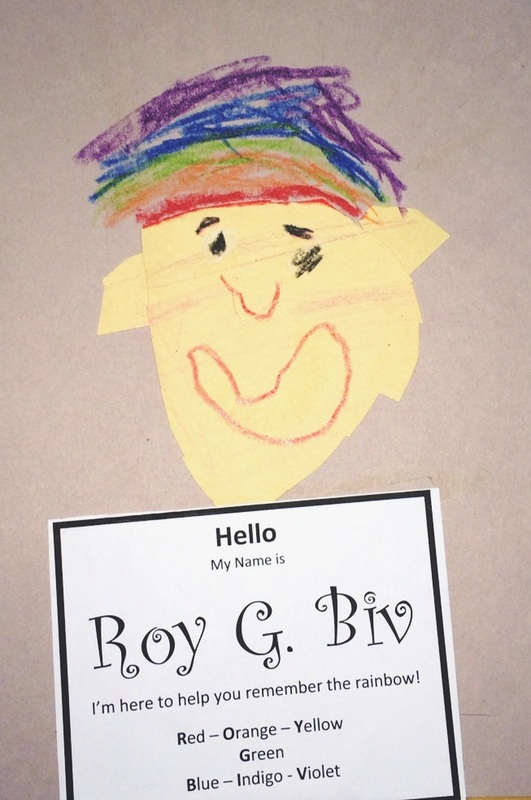
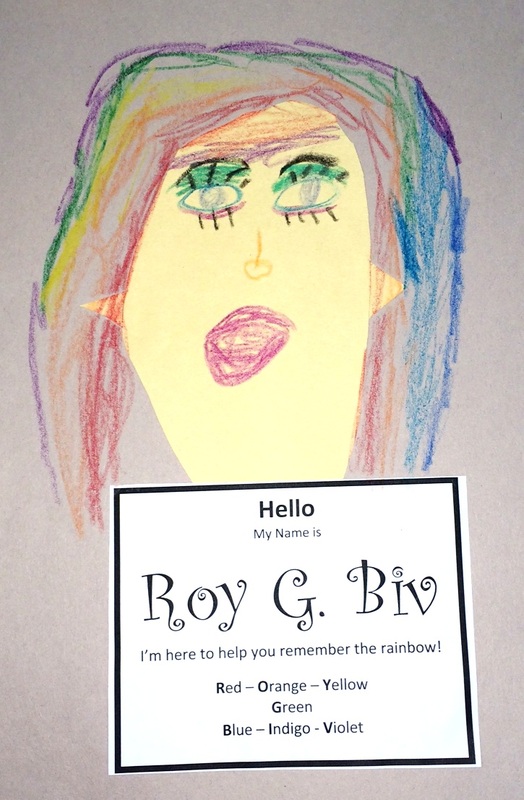
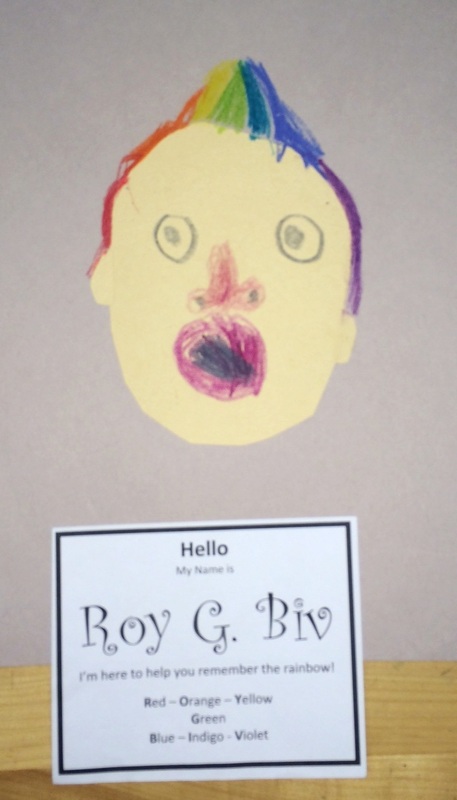
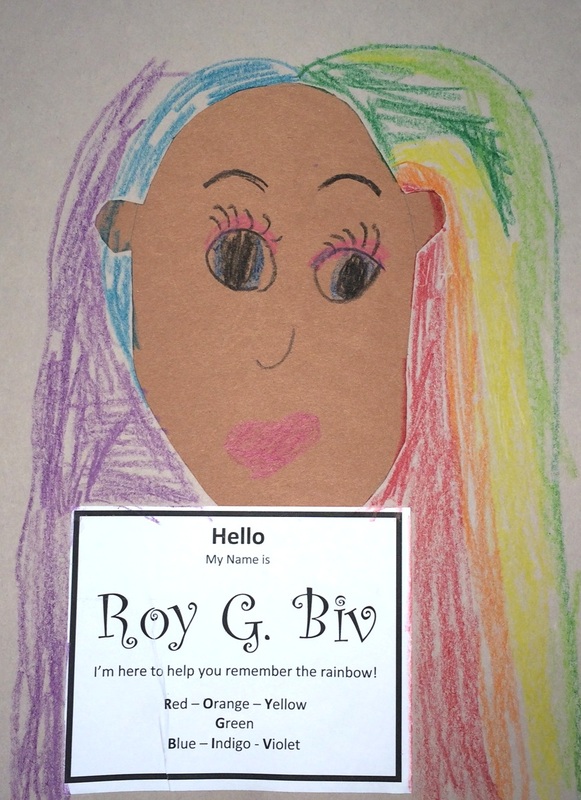
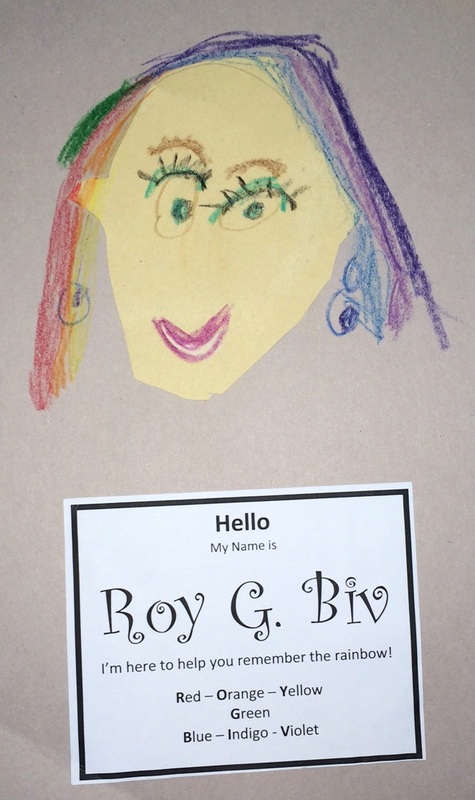
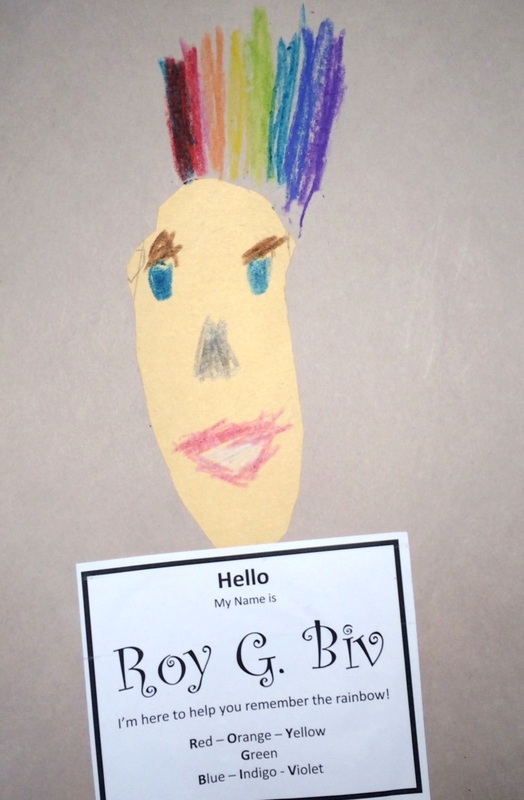
Project: Portraits of Roy G. Biv
We made a new friend in the art room and their name is Roy G. Biv! Roy is a really busy person. He/She reminds us of the colors of the rainbow for a living. That is a super important job, so in our eyes, Roy is a pretty big deal and deserves to have a portrait done of him/herself. We first cut out the shapes for Roy's head and ears. Then, we each used crayons to draw in all Roy's facial features and hair style. We recalled the lines we drew in the beginning of the year and chose which ones work best for the hair style we were going for. We made sure that we colored Roy's hair in the proper order of the rainbow: Red, Orange, Yellow, Green, Blue, Indigo, and Violet.
Lesson 4: Introduction to Chalk Pastels
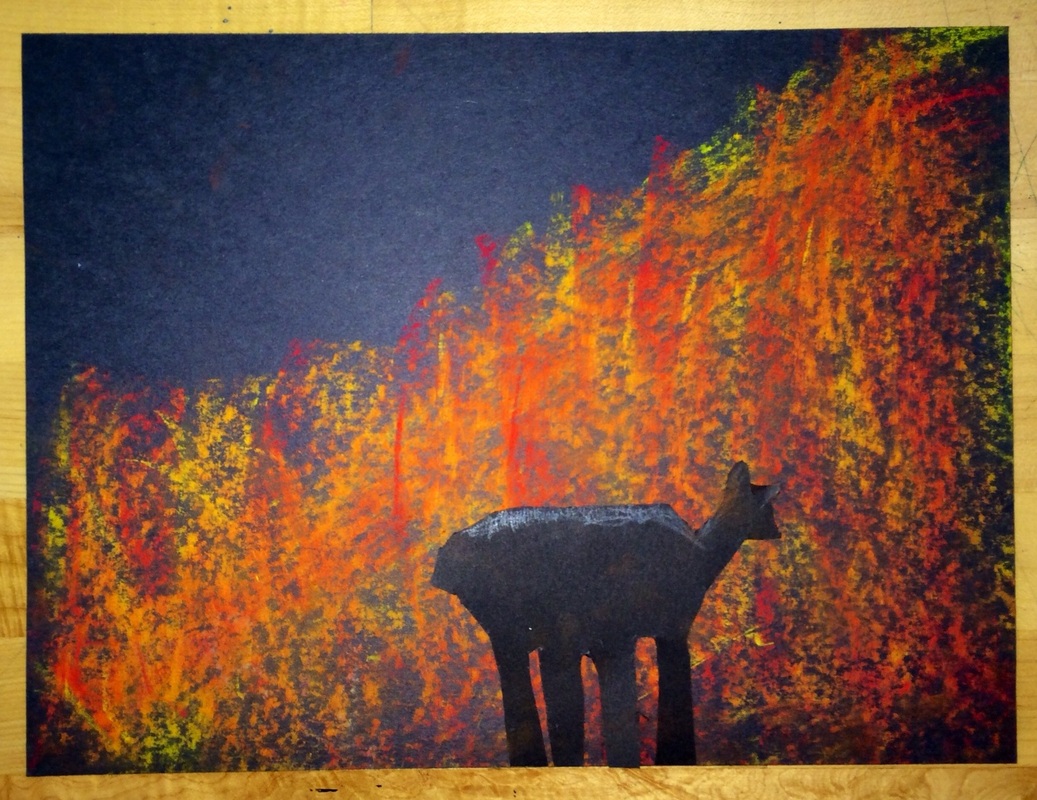
Project: The Northern Lights
Often times, in art class, we find ourselves studying maps and the globe. This time, we took a look at Alaska. We read a book about the type of climate and animals in Alaska at various times of the year. We discovered that it is a great place to view the Aurora Borealis. We tried out a new medium, called chalk pastels. (The sure are messy!!) Chalk pastels create beautiful vibrant color on dark surfaces. Once we decided that we would like to depict the Northern Lights using the pastels, we looked through various images of them. (It sounded like a firework show in the art room with all the "OOOOHs" and "AAAAHs".)
In order to create an accurate depiction of the Northern Lights, we needed to practice our technique. Laying down the pastel on its side, we pushed it in an upward motion towards the top of the paper, lifting up as we went. Then we tried blending different colors on top of each other.
Once we created our Northern Lights on black paper, we decided that since there is so much interesting wildlife up there, we should include some in our work. Of course if we were going to include wildlife in our pictures, they would have to be silhouettes! We learned all about silhouettes and why they look so dark when there is light coming from behind them.
The results of this project were nothing short of breathtaking. Each student came out with a different, unique piece. Students from other grades enjoyed looking at them so much that they decided they wanted to make them too!
*To prevent smudging, lightly spray your child's work with fixative (or an aerosol hairspray) from about 12-16" of the piece.
Lesson 5: Relief Sculpture Study
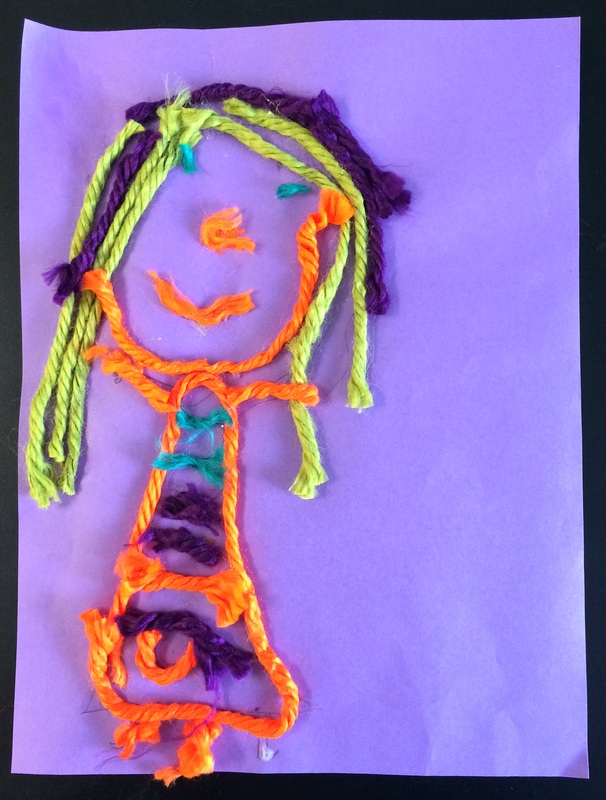
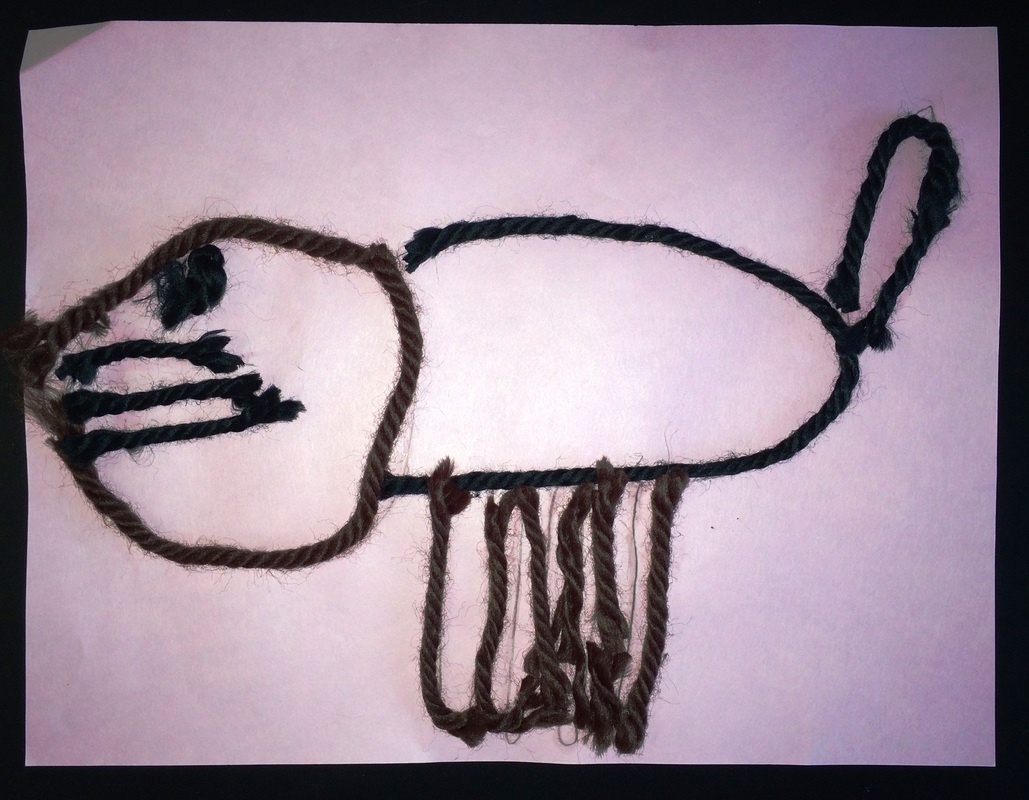
Project: Low Relief Yarn Sculptures
Not all art is flat! We have begun bridging the gap from 2-D to 3-D art. We started by studying various relief sculptures from work by the Ancient Egyptians to Classic Greek style and Gothic Cathedral friezes to modern day work. There are two different types of relief: high and low. High relief sticks out further from its background, almost becoming visible from all sides, while low relief is still relatively flat and may only protrude out about an inch or two from its background. Students viewed a series of photos of examples of both and used sticky notes to cast their votes on whether they thought each piece was high or low relief.
Once we understood the concepts of the artistic characteristics of the sculptures, we looked more into detail on the subject matter the artists chose. It became clear that the artists chose to represent what was important to them and/or what was going on in the world during the time period in which each work was created.
Students brainstormed people, places, and things that are important to them in order to choose their subject matter. Then they traveled from station to station in order to complete the project. At station 1, they drew a simple line drawing of their subject onto construction paper. At station 2, glue was applied (in a controlled manner) right over top of their pencil lines. Last, at station 3, students cut strands of yarn to be placed over their glue lines. The end product is a low relief yarn sculpture of something important to each student.
After the pieces were dry, students paired up in front of the class and role played (with hats, mustaches, and a microphone, of course) as an artist and a reporter. The reporters interviewed the artists about their pieces. The conversation was meaningful and the disguises were convincing ;)
Lesson 6: Introduction to Clay
Project: Pinch pots & turtles
Students were introduced to air dry clay. We read The Little Lump of Clay by Diana Engel. So much happens to clay between the time it comes out of the bag and bringing home a finished piece. The life of a lump of clay really gets broken down in this book and children learn about the work involved in making it into a finished piece, as well as taking care of the clay properly during the process. One of the most common clay forms made by artists is a "pot" - anything that can be used to contain things (ie. a bowl or vase).
Starting from a lump, students rolled the clay into a ball. By inserting their thumb into the top of the ball and then pinching the sides, walls were formed, eventually resulting in a pinch pot. Some classes had enough time to take the project a step further, making the pinch pot into a turtle shell and attaching a head, legs, and a tail.
After the projects had dried, students applied water color paint in whichever fashion they found to be aesthetically pleasing.
(SOME WORK IS STILL IN PROGRESS.... PHOTOS COMING SOON)
Lesson 7: Artist Study - Dale Chihuly
Project: Faux blown glass coffee filter cups
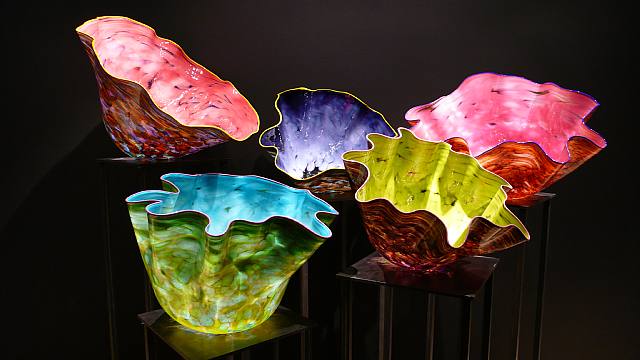
We took a look at the work of glass sculptor Dale Chihuly. Chihuly's work can be seen right here in Connecticut at Mohegan Sun! His beautiful large scale sculptures feature a variety of organic forms and vibrant colors, which are often illuminated, creating quite the viewing experience.
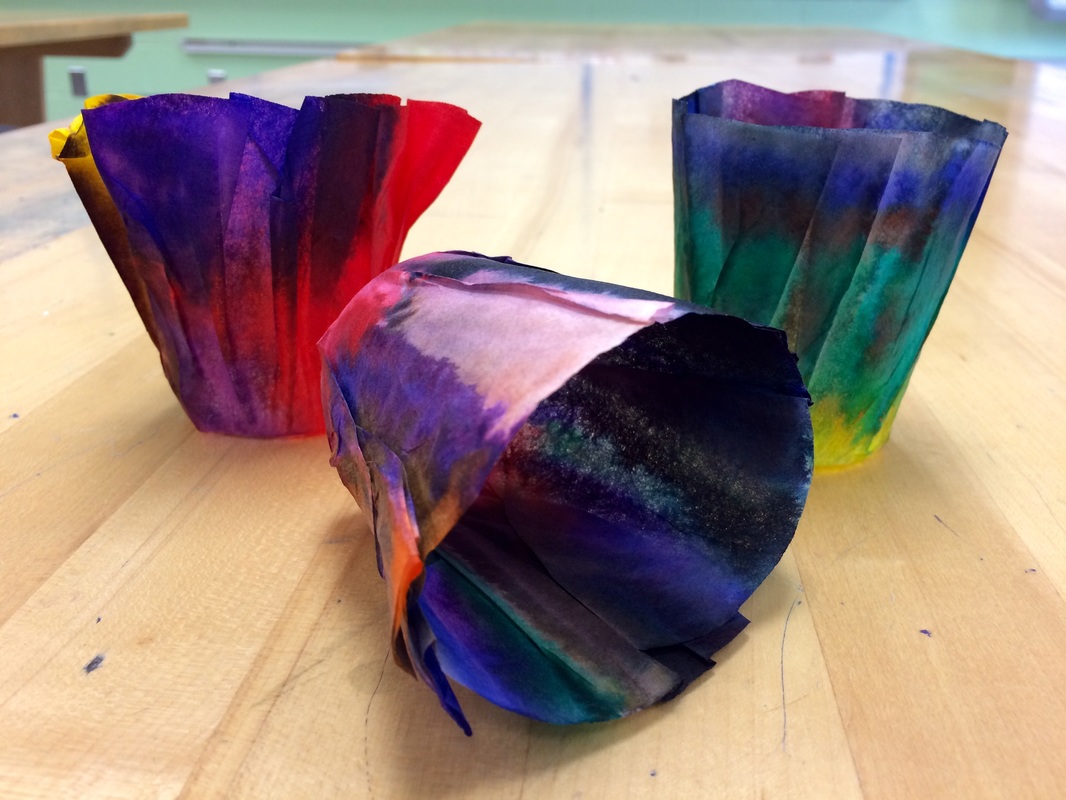
Since we discovered how dangerous it is to work with molten glass, we decided that it would be a good idea to create a similar look by using coffee filters, water based markers and spray starch. The result is a bowl that is a cup that is not only aesthetically pleasing, but functional as well - great for holding little treasures.
Project: Faux blown glass coffee filter cups
We took a look at the work of glass sculptor Dale Chihuly. Chihuly's work can be seen right here in Connecticut at Mohegan Sun! His beautiful large scale sculptures feature a variety of organic forms and vibrant colors, which are often illuminated, creating quite the viewing experience.
Since we discovered how dangerous it is to work with molten glass, we decided that it would be a good idea to create a similar look by using coffee filters, water based markers and spray starch. The result is a bowl that is a cup that is not only aesthetically pleasing, but functional as well - great for holding little treasures.

Lesson 8: Color Review
Project: Torn Paper Rainbows
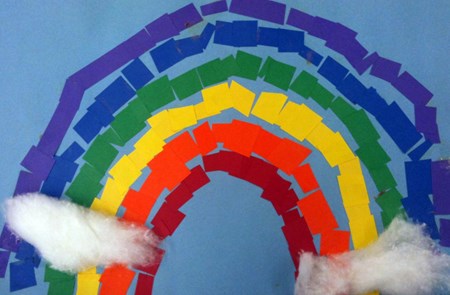
Color, being one of the elements of art, is a very important concept, which will be revisited regularly throughout a student's K-12 art experience. Each time we will be getting more and more in depth. Earlier in the year we were introduced to Roy G. Biv. Using the information that we learned from that lesson, we dug through the scrap paper box and pulled pieces of paper that we identified as colors of the rainbow. Students were required to create a rainbow composition by tearing the paper into little pieces and gluing it down collage style in proper order. When finished, each student was asked to explain the link between Roy G. Biv and the torn paper rainbow that they created.
Project: Torn Paper Rainbows
Color, being one of the elements of art, is a very important concept, which will be revisited regularly throughout a student's K-12 art experience. Each time we will be getting more and more in depth. Earlier in the year we were introduced to Roy G. Biv. Using the information that we learned from that lesson, we dug through the scrap paper box and pulled pieces of paper that we identified as colors of the rainbow. Students were required to create a rainbow composition by tearing the paper into little pieces and gluing it down collage style in proper order. When finished, each student was asked to explain the link between Roy G. Biv and the torn paper rainbow that they created.
Lesson 9: Pattern
Project: Crayon Resist Eggs
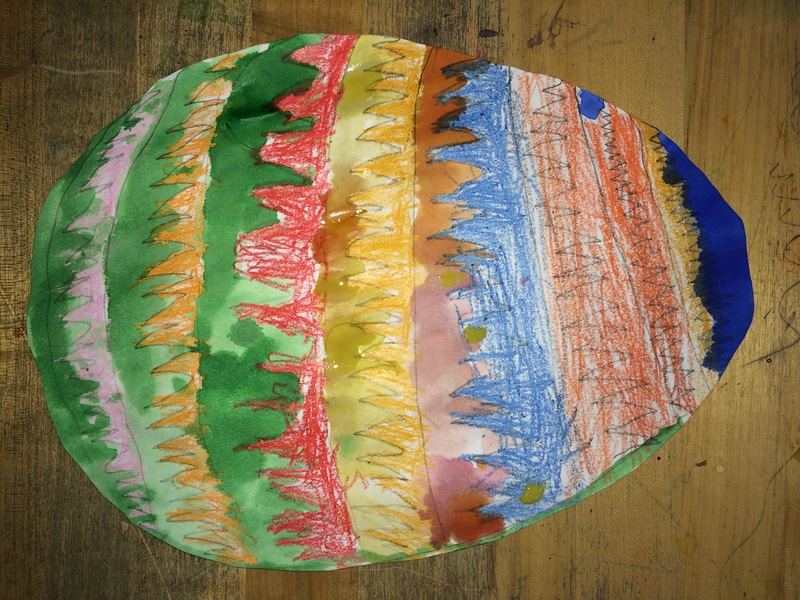
During a responding session on Ukrainian eggs, students noticed that the eggs were decorated with a complex network of shapes, colors, lines, and patterns. Together we created pattern sentences on the board, starting from simple two-part patterns (ABAB) and working up to four-part patterns (ABCDABCD). Students then traced and cut out an egg shape, applied crayon for line/shape/color patterns, and finished by adding a watercolor wash over the whole piece. Some students even created six-part patterns!
Project: Crayon Resist Eggs
During a responding session on Ukrainian eggs, students noticed that the eggs were decorated with a complex network of shapes, colors, lines, and patterns. Together we created pattern sentences on the board, starting from simple two-part patterns (ABAB) and working up to four-part patterns (ABCDABCD). Students then traced and cut out an egg shape, applied crayon for line/shape/color patterns, and finished by adding a watercolor wash over the whole piece. Some students even created six-part patterns!

Lesson 10: Shape & Collage
Project: Springtime Fun
Students created a scene out of cut paper that consists of them engaging in an activity they like to do in the springtime. The focus of this lesson was on choosing the proper shapes and colors to create a realistic looking composition that covers the whole page. Details were then added in with marker. A few students took it upon themselves to add three-dimensionality to their work by folding and bending paper before gluing edges down for a bas relief effect.
(Examples of this project can be found in the photos of the 3rd trimester showcase, located on the home page of this site.)
Lesson 11: Color Theory
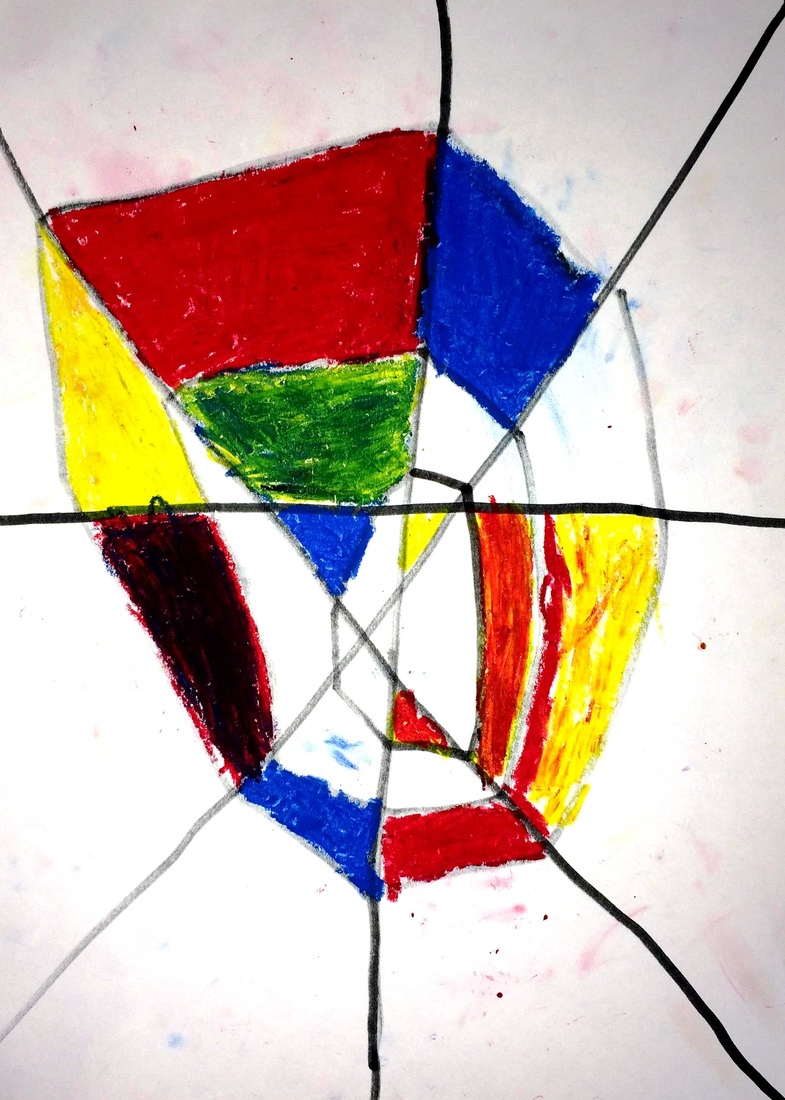
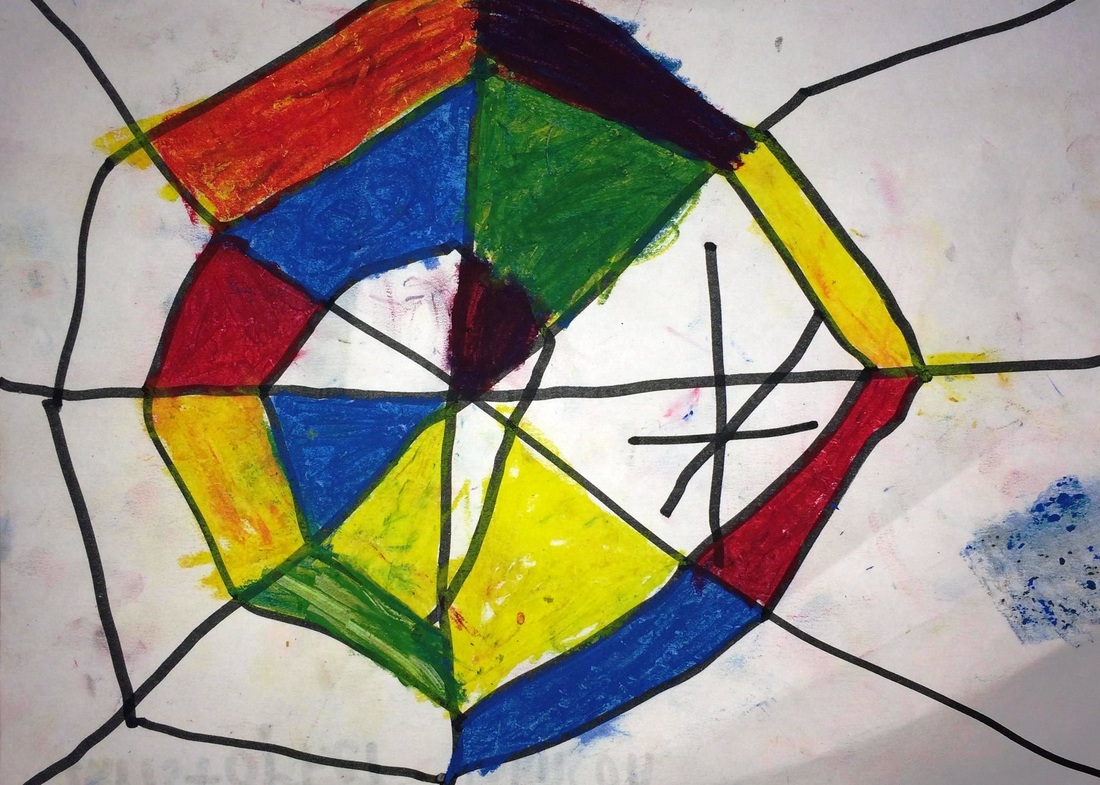
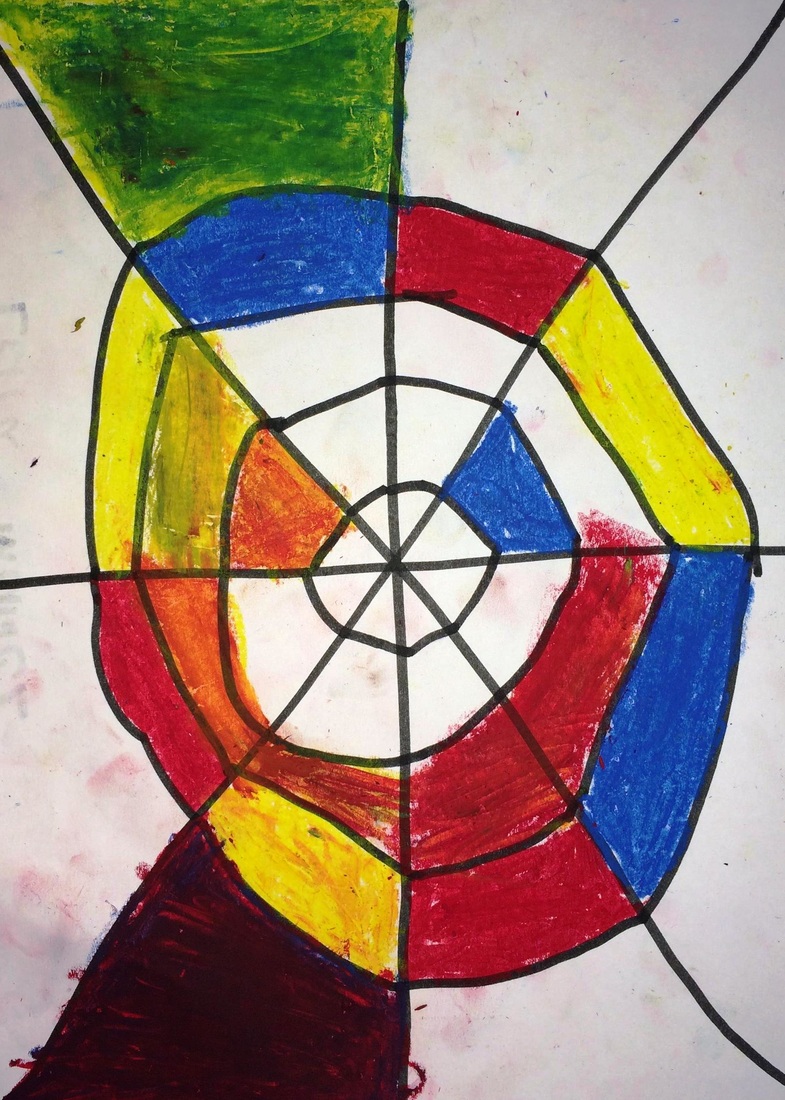
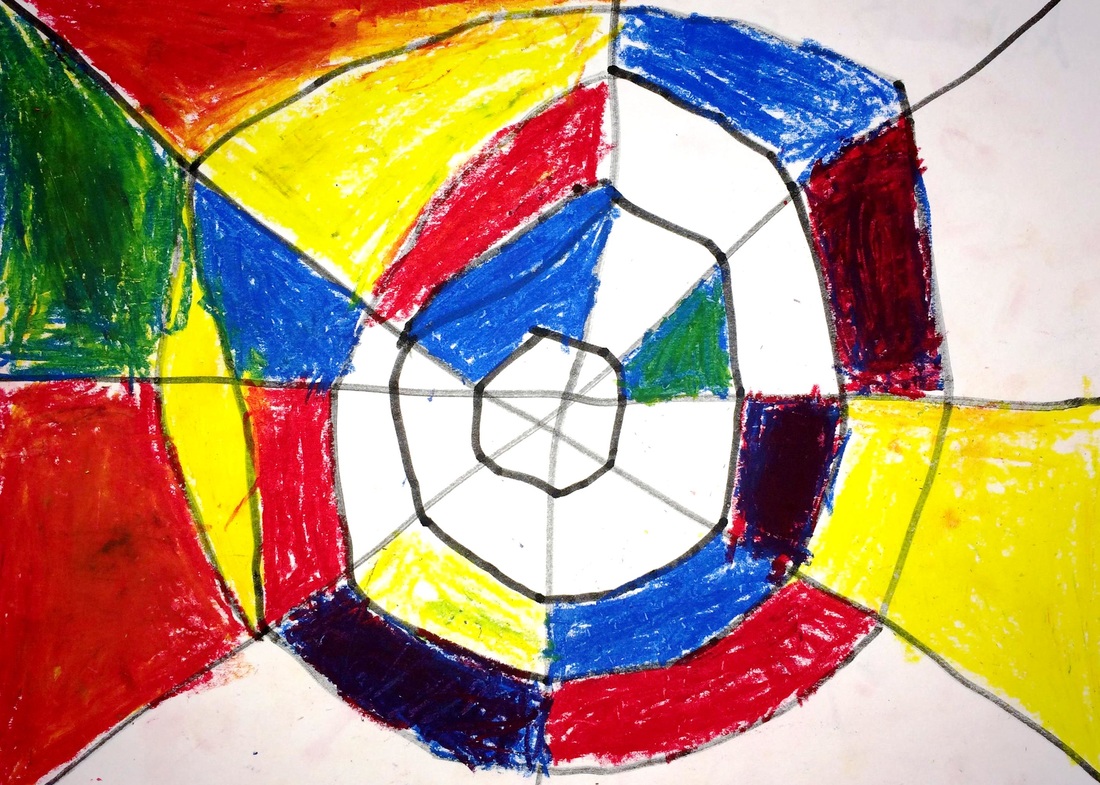
Project: Oil Pastel Webs
Students created a spider web by drawing horizontal, vertical, and diagonal straight lines with a black marker, then connecting them with the "sticky lines" of a spider web. The shapes created by these lines were filled in with primary, secondary, and tertiary colors. Tertiary colors are created by mixing one primary color with one secondary color. For example Blue-Green. We always say the primary color first. We worked on some familiarization with the color wheel, but emphasis was mainly put on understanding primary and secondary colors and how they work together to create additional colors.