Grade 3
Lesson 1&2: "What is art?" & Animation mini lesson
Project: Animated string pull prints
Students viewed a series of photos and decided whether or not the depictions were works of art. Each student shared their own opinion on their piece, in terms of design, giving reasons for considering it successful or unsuccessful. Some works were straight forward, such as a famous painting or sculpture. Others required deeper thought and consideration, such as Marcel Duchamp's "Fountain". Students really enjoyed listening to each others' opinions and were eager to participate in the discussion.
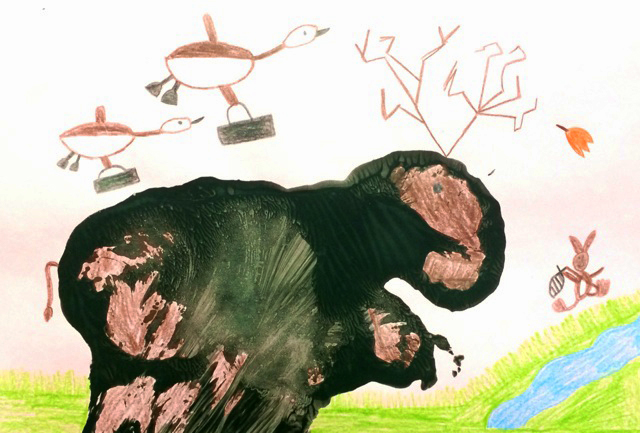
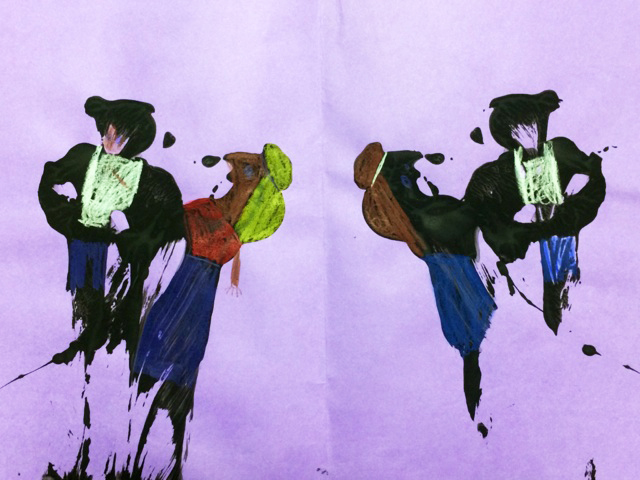
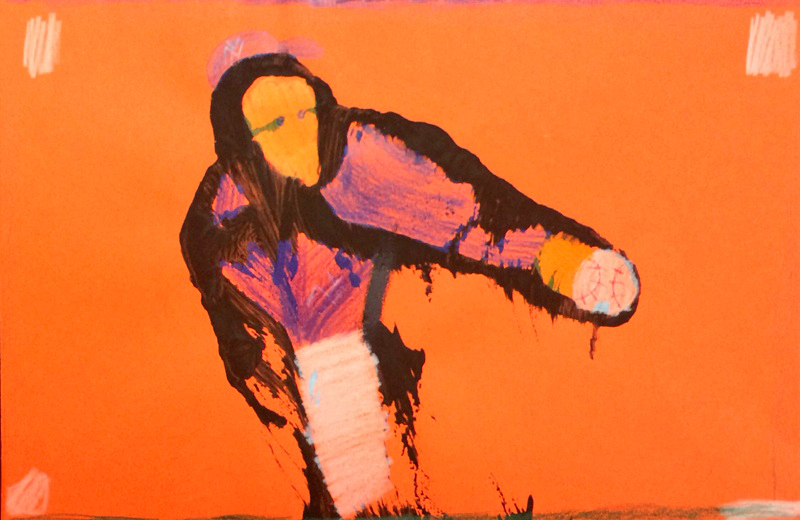
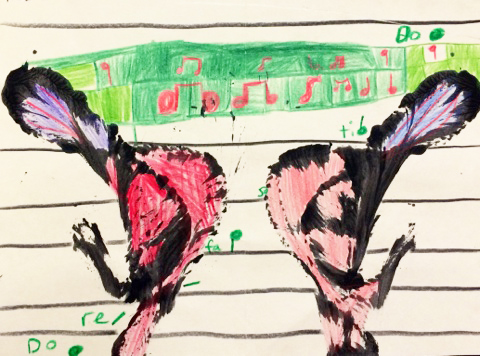
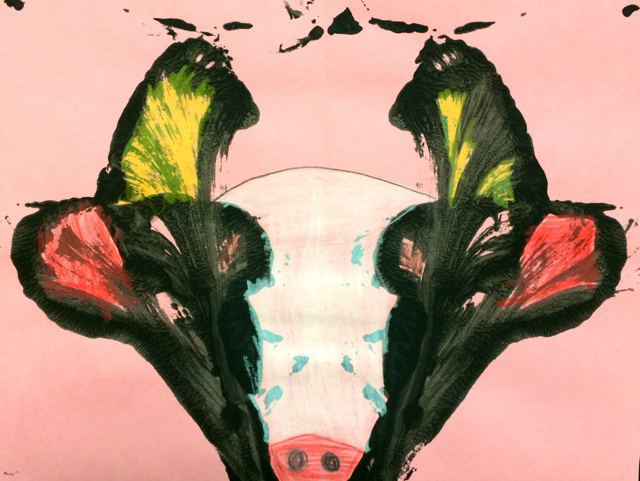
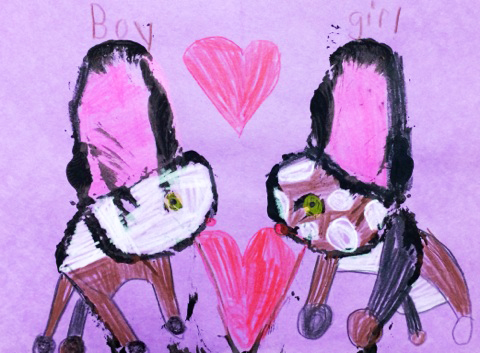
Students created prints by dipping a piece of yarn in tempera paint, laying it on half of a sheet of paper, folding the other half over top, then pulling the string out from between the layers of paper in one swift motion. Other than following simple directions in order to complete the project, students were told not to put much thought into what the piece was about or why they were making it. After the prints were completed, we discussed whether or not we considered them art due to the fact that there truly was no intended meaning or emotion connected to the pieces. Opinions varied. Many students just thought the pieces need more color.
The second lesson required more imagination. We looked at our pieces and the shapes formed by the symmetrical string lines and pictured what they could become by just adding simple blocks of color and detail. Some students chose to use the entire print, while others used half. Some designs were more obvious than others when analyzing the ink blots, but the outcome of the animations was nothing short of amazing.
Project: Animated string pull prints
Students viewed a series of photos and decided whether or not the depictions were works of art. Each student shared their own opinion on their piece, in terms of design, giving reasons for considering it successful or unsuccessful. Some works were straight forward, such as a famous painting or sculpture. Others required deeper thought and consideration, such as Marcel Duchamp's "Fountain". Students really enjoyed listening to each others' opinions and were eager to participate in the discussion.
Students created prints by dipping a piece of yarn in tempera paint, laying it on half of a sheet of paper, folding the other half over top, then pulling the string out from between the layers of paper in one swift motion. Other than following simple directions in order to complete the project, students were told not to put much thought into what the piece was about or why they were making it. After the prints were completed, we discussed whether or not we considered them art due to the fact that there truly was no intended meaning or emotion connected to the pieces. Opinions varied. Many students just thought the pieces need more color.
The second lesson required more imagination. We looked at our pieces and the shapes formed by the symmetrical string lines and pictured what they could become by just adding simple blocks of color and detail. Some students chose to use the entire print, while others used half. Some designs were more obvious than others when analyzing the ink blots, but the outcome of the animations was nothing short of amazing.

Lesson 3: Value & Form
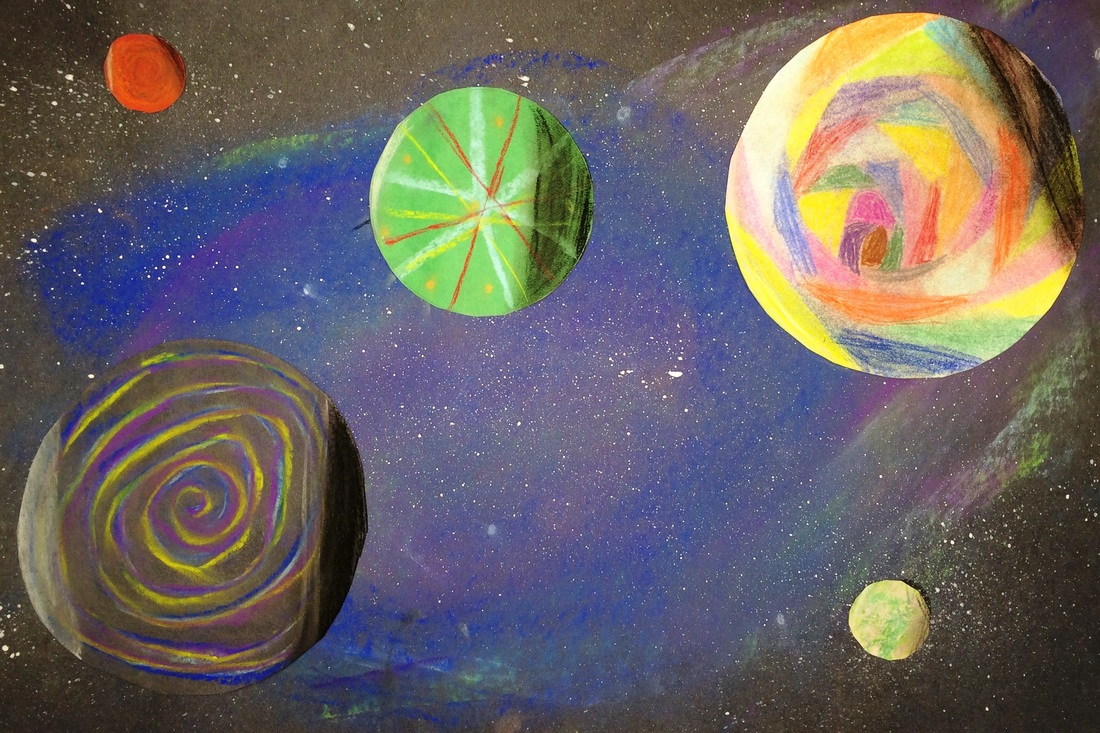
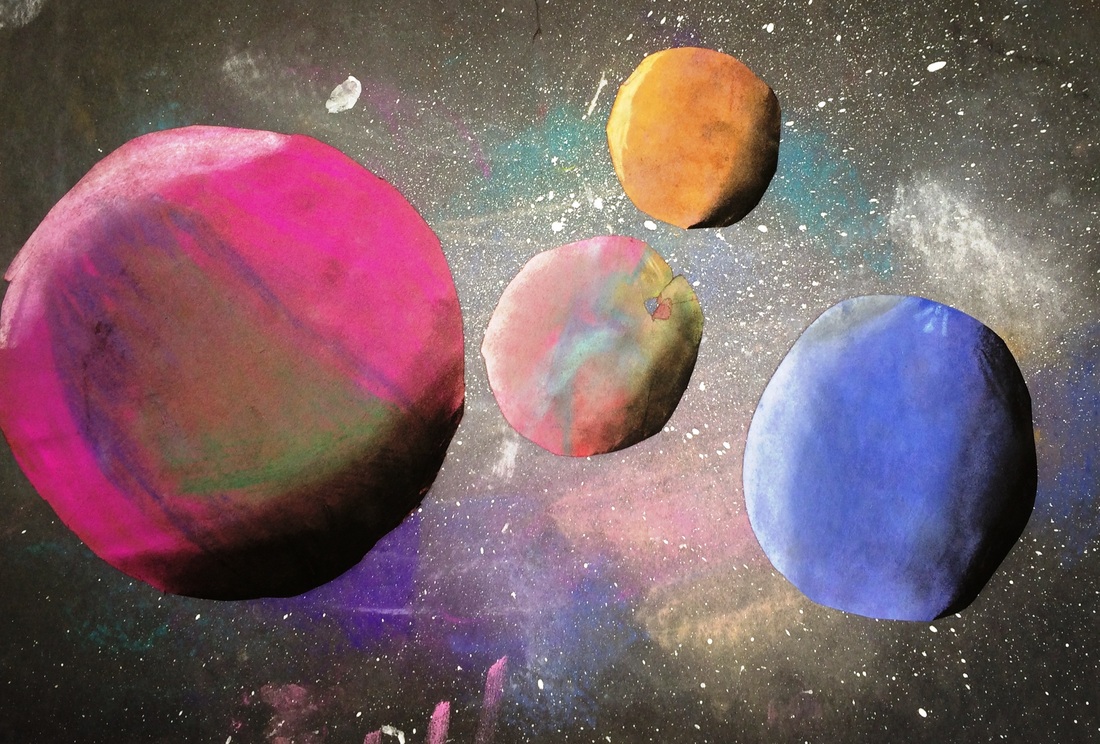
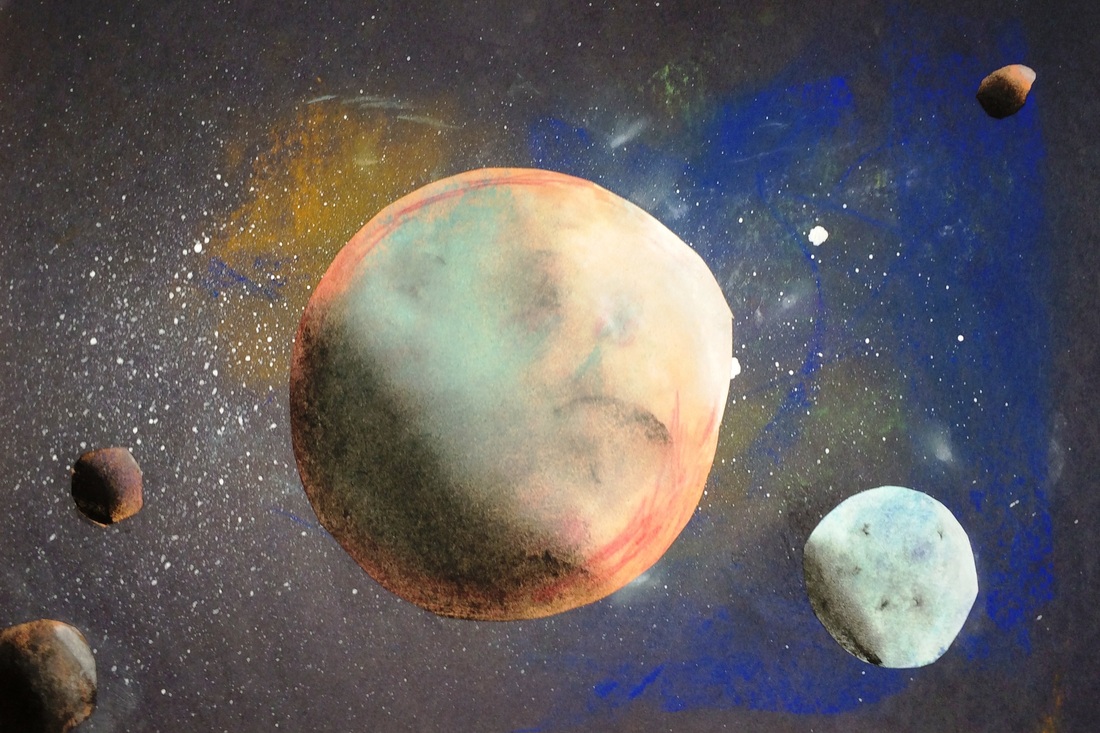
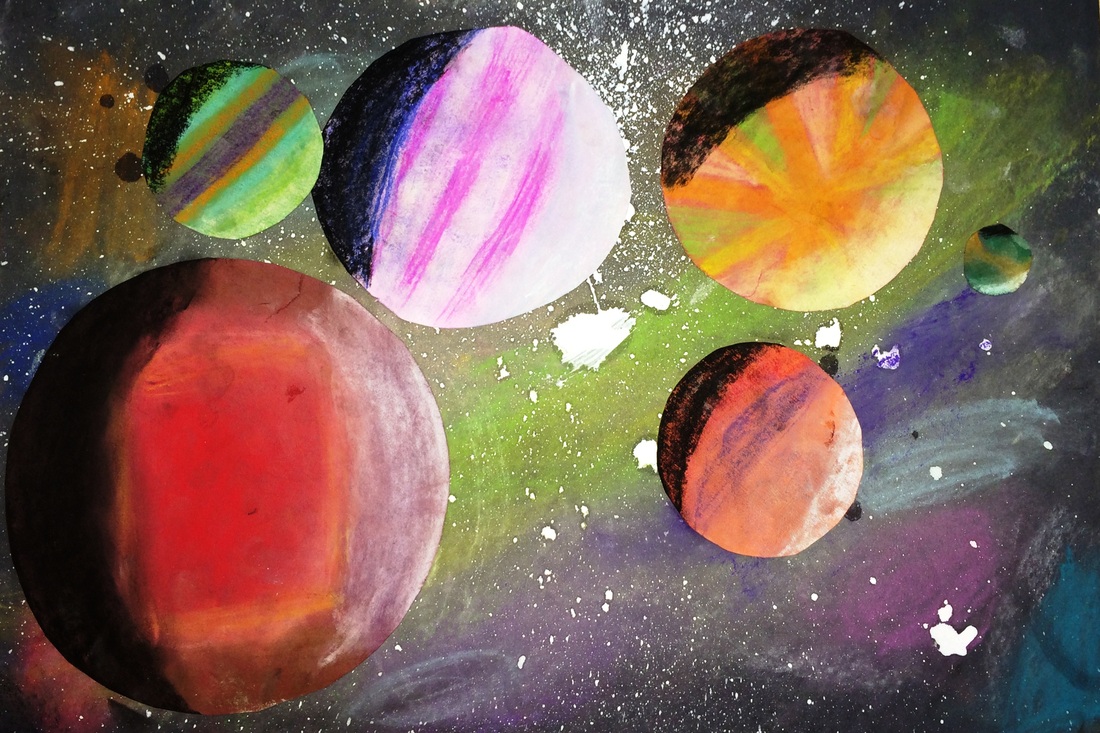
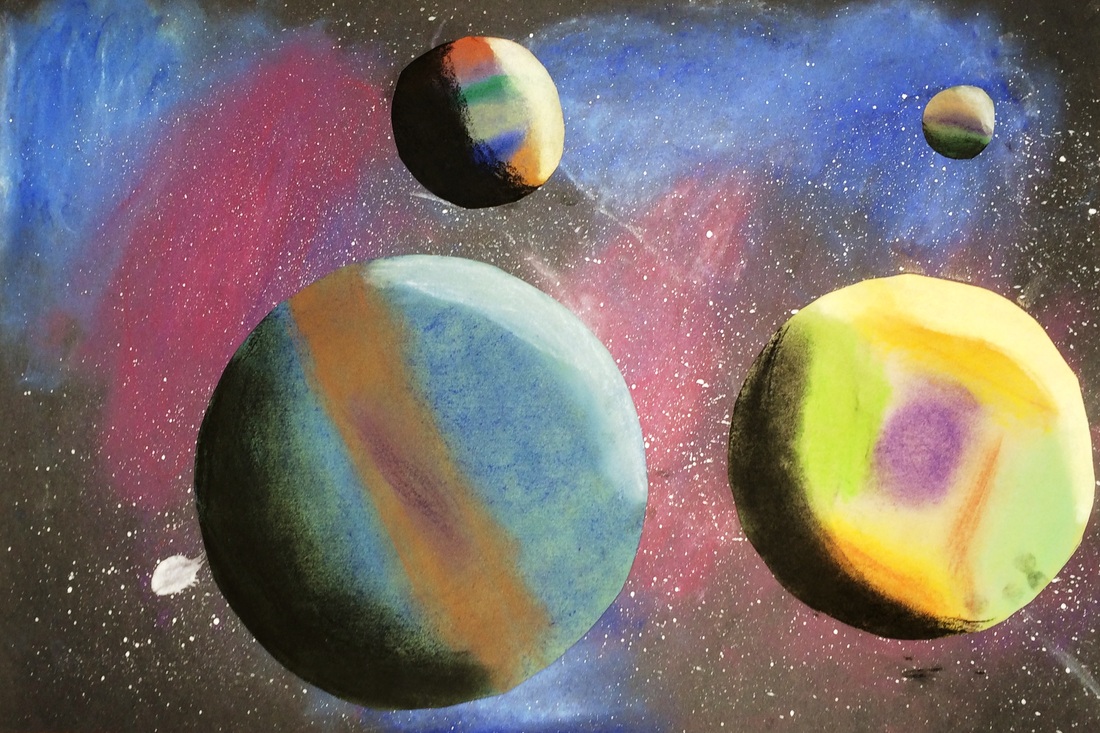
Project: Spheres In Space
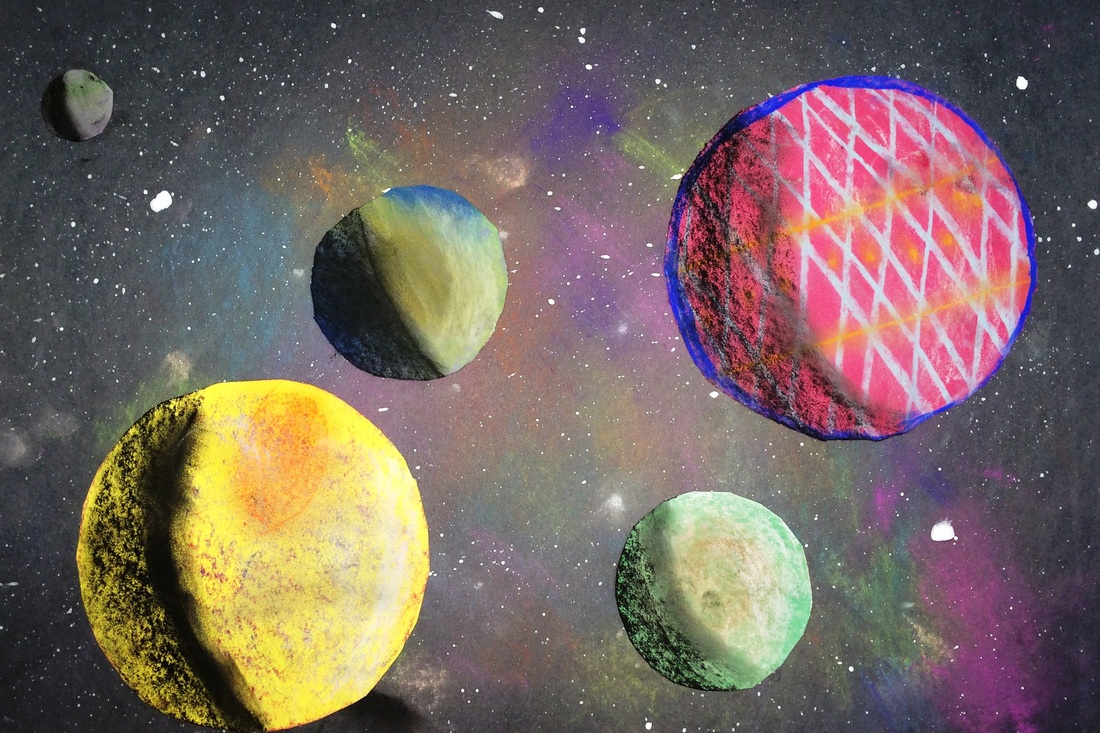
We have officially crossed into another dimension! Students were introduced to 3D drawing - rather than drawing 2-dimensional shapes, we are now drawing 3-dimensional form. We started out by learning the difference between a circle and a sphere. When looking around us, we noticed that we rarely see flat circles in real life. Most of the time we see spheres, such as basketballs, pumpkins, tree ornaments, and of course planets!
After deciding we would create our very own outer space drawings, we looked into what kinds of things exist in space. When analyzing our findings in photos from the Hubble telescope, we discovered that there are many galaxies made up of stars and planets. In fact, to our knowledge, there are infinite amounts of them... (Of course then we got a little side tracked by the mind bending question, "Where does space end?")... Within these galaxies of stars and planets, we noticed big "clouds" of color. We learned all about what these are made up of and why we see them.
Then we visited the Milky way. We looked at it from space, as well as figured out how to identify it from Earth. We zoomed in a little further on our own solar system and found that we have our own bright shining star - the Sun! We discussed concepts of Earth's rotation & tilt, daylight, darkness, seasons and what the Earth (as well as the other planets) look like when these factors come into play. From there we could understand how, as artists, to depict accurate and consistent light direction in a work of art. ISN'T IT AMAZING HOW ALL OF THESE THINGS CONNECT!?
Here comes the fun part! We first created a background that looks like a Hubble telescope photo of distant stars and galaxies using chalk pastels and splattered tempera paint. Then we traced circles, gave them color and texture with pastels, and added light and dark values. Students chose which direction the light was coming from in their piece and glued their planets down accordingly. The results were mind blowing and have been attracting a lot of attention from other students and teachers!
Lesson 4: Introduction to Clay Slabs
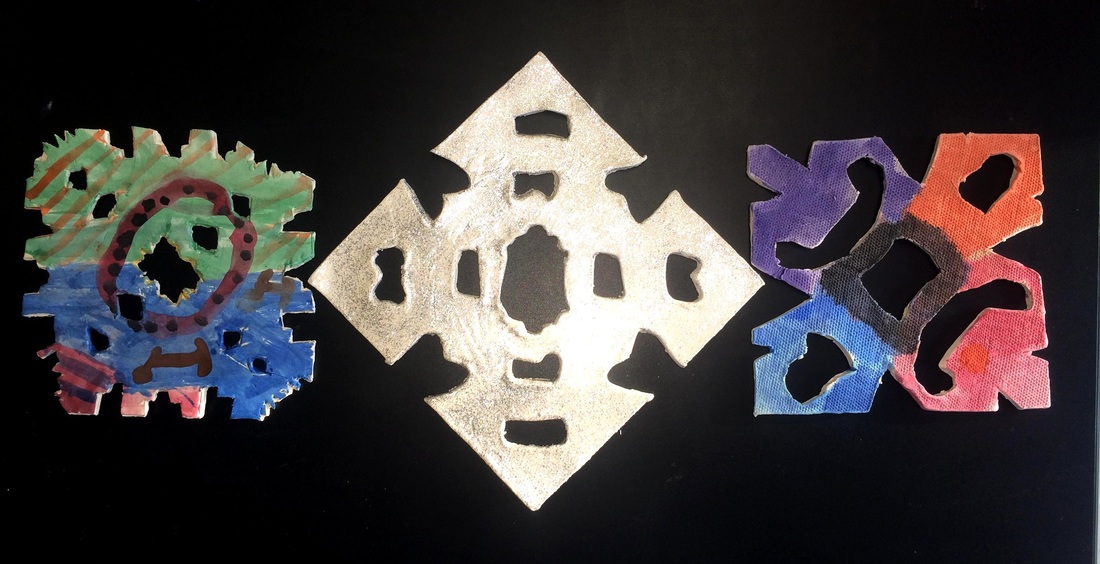
Project: Slab Snowflakes
Students learned the proper techniques involved with slab rolling. They concentrated on keeping the clay thickness even throughout the piece. Design principles such as symmetrical balance and Variety were the focus of this lesson. It was also a valuable learning experience for learning how important it is to take responsibility for one's own clay work. It is a very unforgiving medium which requires careful week-to-week storage.
Lesson 5: Color Study & Intro. to Principles of Design
Project: Arbor Day Tree Series
In honor of Arbor day, we talked about what trees do for us here on planet Earth and why we need them to exist in order for us to exist. We discussed the proper ways to take care of trees and why sometimes even burning, cutting or trimming them is the best way to keep our forests healthy and our properties safe.
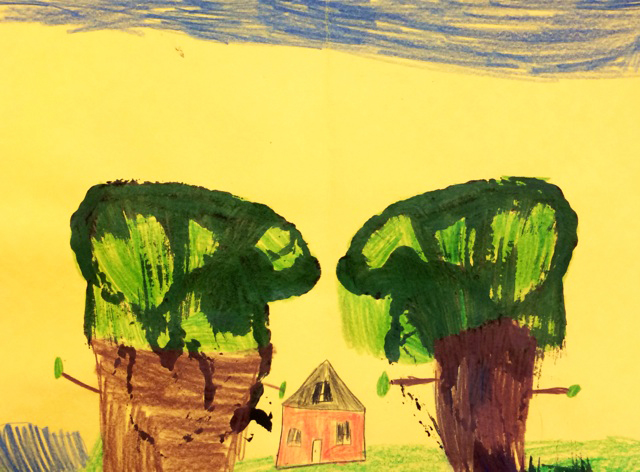
Trees are considered by many to be one of the hardest things to draw. What if I told you that they actually can be one of the easiest things to draw if you just follow one simple rule? JUST KEEP MAKING "Y's"! Students were able to tweak, perfect, and create their very own technique & style of tree drawings. Four drawings were created, one for each season. In the spring drawings, Emphasis was added by only adding color pencil to the growing grass and budding leaves/flowers. Unity was created in the summer paintings by creating a monochromatic color scheme with water color. Shades and tints were mixed to create the shadows and highlights. Variety was added to the fall piece by finger painting the leaves. Students used red and yellow paint to mix orange, making sure to use the proper color ratio. Last, Contrast was used in the Winter piece by utilizing a crayon resist watercolor painting technique.
The four pieces were then mounted in sequential order onto a construction paper for a finished look that is definitely wall hanging worthy!
Project: Arbor Day Tree Series
In honor of Arbor day, we talked about what trees do for us here on planet Earth and why we need them to exist in order for us to exist. We discussed the proper ways to take care of trees and why sometimes even burning, cutting or trimming them is the best way to keep our forests healthy and our properties safe.
Trees are considered by many to be one of the hardest things to draw. What if I told you that they actually can be one of the easiest things to draw if you just follow one simple rule? JUST KEEP MAKING "Y's"! Students were able to tweak, perfect, and create their very own technique & style of tree drawings. Four drawings were created, one for each season. In the spring drawings, Emphasis was added by only adding color pencil to the growing grass and budding leaves/flowers. Unity was created in the summer paintings by creating a monochromatic color scheme with water color. Shades and tints were mixed to create the shadows and highlights. Variety was added to the fall piece by finger painting the leaves. Students used red and yellow paint to mix orange, making sure to use the proper color ratio. Last, Contrast was used in the Winter piece by utilizing a crayon resist watercolor painting technique.
The four pieces were then mounted in sequential order onto a construction paper for a finished look that is definitely wall hanging worthy!
